How to Build a Vertical Garden for a Small Space
Building a vertical garden in a small space means growing upward on a wall, railing, trellis, or stacked structure instead of spreading plants across floor space you do not have. The safe way to do it starts before you pick a structure:
- Check what your wall, railing, or floor can actually carry,
- Decide whether you can drill or need a no-drill option,
- Protect the wall behind anything you mount,
- Choose a structure, match plants to where they will sit, and
- Set up watering from day one.
Skipping the load check and the wall protection step is how a vertical garden ends up damaging a rental deposit or a plaster wall, and it is the part most beginner guides leave out entirely.
What Building a Vertical Garden for a Small Space Actually Means
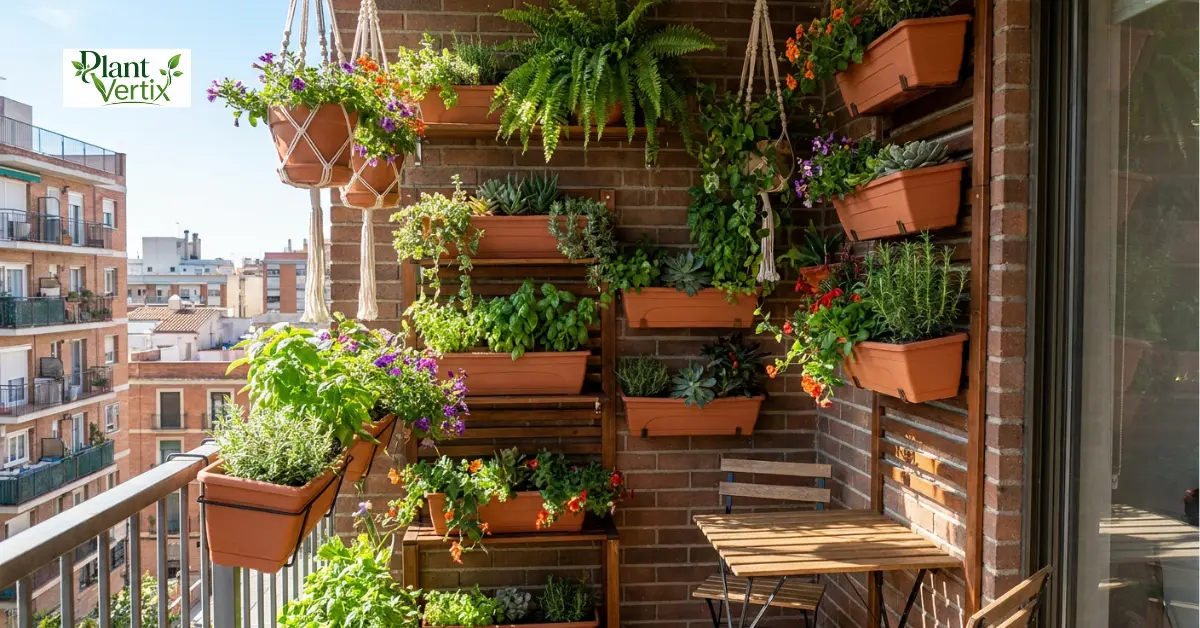
Vertical gardening is growing up instead of out: plants stacked in tiers, hung in pockets, trained up a trellis, or mounted on a wall panel, so a balcony, narrow side yard, or interior wall can hold far more plants than its floor area alone would suggest.
A single potted tomato sitting on a balcony floor is not a vertical garden; a trellis panel that lifts that same tomato up and off the floor is. That distinction matters because the structure, not just the plant, is what makes a setup vertical, and the structure is exactly where the risk and the planning actually live.
Step 1: Check What Your Wall, Railing, or Floor Can Actually Carry

Do this before you fall in love with a structure. Model building codes do set a live load standard for residential balconies, but a code minimum describes what new construction must be designed to, not what your specific balcony will actually carry.
Older buildings, informal additions, and railings in particular can carry far less, and no published figure tells you which case you are in. So this guide does not print a number for you to work from. Confirm the real capacity with your building management, landlord, or a qualified professional before you load up a mounted or railing-hung system.
The same caution applies to anything mounted to a wall, and here the arithmetic matters more than any number this guide could give you. Anchors are rated, and the rating is printed on the packaging, so read your own.
But every one of those ratings describes a dry, static load hanging from a known wall type, and a planting structure is neither: soaked soil is far heavier than the dry soil that came out of the bag, a watered planter shifts as it drains, and no manufacturer rates hardware for that.
So treat the printed rating as a ceiling you stay well under, not a target you plan up to, and size your system by its fully loaded weight, soil plus water plus mature plant, never the empty structure’s. If the honest answer is that you cannot tell what is behind your wall or what the loaded weight will be, that is the point at which to ask a professional rather than estimate.
Step 2: Renting or Owning the Wall? Choose a No-drill or Mounted Structure

If you rent, or simply do not want to put a hole in a wall you are unsure about, no-drill structures solve the load question by moving weight off the wall entirely.
A floor-standing tiered tower, a trellis panel braced against an existing railing rather than screwed into it, and tension-rod systems that wedge between floor and ceiling all avoid drilling while still lifting plants off the ground.
If you own the wall, or your lease allows it, a mounted fabric pocket panel or a modular wall system opens up more design options, but it comes with the two obligations above: confirm the load capacity, and use hardware rated for the actual weight, not whatever was already in the junk drawer.
Step 3: Protect the Wall Behind a Mounted System

This step gets skipped in most beginner guides, and trapped moisture, not the structure’s weight, is the more common way a mounted vertical garden ends up damaging the wall behind it.
Any system mounted directly against a wall needs a barrier layer (a water-resistant board such as exterior-grade plywood or cement board works well) between the planting structure and the wall surface, plus a small air gap behind it so moisture can dry out rather than sit against drywall or plaster.
Skip this, and even a well-built system can leave discolouration, mould, or softened wall material behind months later, long after the plants themselves look fine.
Step 4: Pick The Location
Once the structure question is settled, location comes down to three things.
- Light: most vegetables and flowering plants want a spot with several hours of direct sun, commonly a south- or west-facing wall in the Northern Hemisphere, while shade-tolerant foliage can work with less.
- Wind: an exposed balcony rail dries plants out faster and can stress a tall trellis, so a partially sheltered spot is often more forgiving for a first build.
- Access: You will be watering this structure regularly, so pick a spot you can actually reach every tier of without straining over a railing or through a doorway.
Step 5: Choose Your Structure Type

The main categories are wall-mounted fabric pockets, modular panel systems, trellis and climbing frames, tiered or ladder shelving, and freestanding towers, and each fits a different combination of wall access, rental status, and floor- or wall-mounted load.
Rather than repeat a full comparison here, our structure comparison guide, Vertical Garden Wall Planter Systems Compared (publishing soon), walks through the trade-offs of each category side by side, organized around the rent-or-own and wall-or-floor questions from Steps 1 and 2.
Step 6: Match Plants to Where They Will Actually Sit

A top-tier or fully exposed pocket dries out fastest and takes the most direct sun; a bottom-tier or floor-supported spot holds moisture longer, sits in more shade, and can carry heavier root systems. That physical reality, not just which plant looks nice, should decide what goes where.
A heavy, mature plant does not belong in an unsupported hanging pocket, regardless of how attractive it looks in a photo. Our companion guide, Best Plants for Vertical Gardening, Matched to Tier Position (publishing soon), organizes recommendations by exactly this logic rather than by generic plant category.
Step 7: Build It
The general procedure holds across most structure types, even though the specific hardware differs.
- Assemble or mount the structure first, using hardware rated for the load identified in Step 1.
- Add your barrier and air gap if the system is wall-mounted.
- Install containers or pockets, checking that each has a functioning drainage hole, since a pocket or pot without one becomes a standing pool that drowns roots and adds unplanned weight.
- Fill with a lightweight, well-draining potting mix rather than garden soil, which compacts and holds far more water than most vertical systems are designed to handle.
- Plant according to the tier logic from Step 6, working from the bottom up so you are not reaching over already-planted lower tiers as you go.
Step 8: Set Up Your Watering Routine From Day One
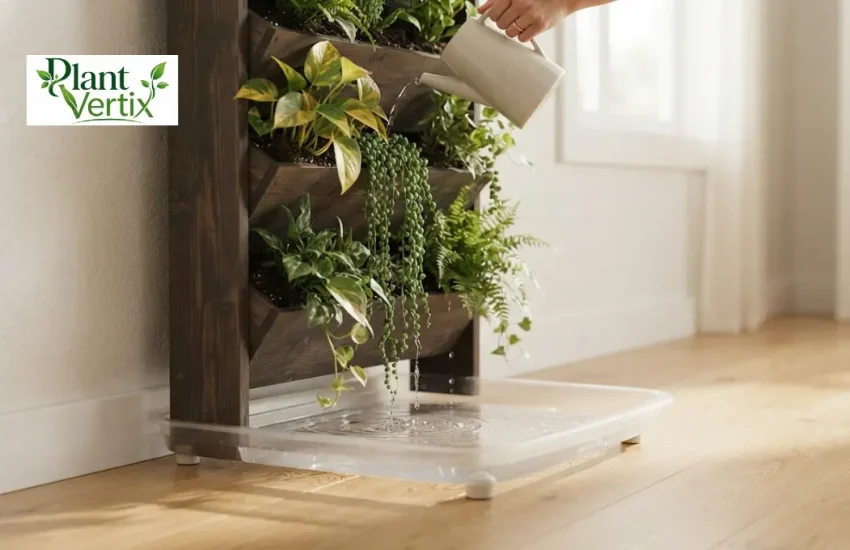
Every vertical system waters unevenly by default: gravity pulls water down, so the top tier dries fastest, and the bottom tier stays wettest, a mechanical fact rather than a mistake you made. Plan for that from the start instead of discovering it after a top tier has already dried out completely.
Our watering guide, how to water a vertical garden without damaging the wall or drowning the bottom tier, covers how much to water, how to check different tiers separately, and when a simple drip or wicking system is worth adding.
Want to Grow Vegetables, Not Just Decor?
A trellis or stacked structure can produce a real vegetable harvest, not just herbs and succulents. Pole beans, peas, cucumbers, and small-fruited tomatoes all train well onto a vertical structure, and vertical training tends to improve airflow and light exposure per leaf compared with a sprawling plant left on the ground.
Container depth and how you anchor a cage or trellis inside a pot instead of staking it into open ground both matter more than most in-ground vegetable advice accounts for. Our guide to vertical vegetable gardening in small spaces covers exactly that.
What to Watch For in The First Month
- Expect uneven drying between tiers before you expect plant problems; it is the structure doing exactly what gravity dictates.
- Check your wall-mounted hardware for any loosening after the first few waterings, since a fully loaded, saturated system settles differently than it does at its dry weight when mounted.
- Watch for any water pooling at the base of a mounted system, an early sign the barrier or drainage plan needs adjusting before it becomes a wall problem instead of a watering one.
Quick-reference Checklist
- Confirm your wall, railing, or floor’s real load capacity with building management or a professional before choosing a structure
- Decide on a no-drill (renter-safe) or mounted, based on your lease and your confidence in the wall
- Add a moisture barrier and air gap behind any mounted system
- Pick a location with adequate light, manageable wind exposure, and easy watering access
- Match each plant to its tier: drought-tolerant plants on top, moisture-retentive and heavier plants lower down
- Confirm a working drainage hole in every container before planting
- Plan your watering routine and check moisture at multiple tiers, not just one glance from the ground
Work Through The Build in Detail (Explore Each Step in Depth)
Each step above has a full guide behind it.
- What vertical gardening actually is draws the boundary between a vertical garden and a row of pots, and names the three structure families.
- How much growing space you actually gain by going vertical separates the floor-area gain from the yield claim, and covers what you trade for it.
- Indoor vs outdoor vertical gardens sets out the five decisions that change when the structure comes inside.
- Choosing where to put a vertical garden is the siting process for Step 4: reading the light, identifying the wall, and running the checklist before anything is mounted.
- Vertical gardening on a balcony covers the four balcony-specific constraints, including wind at height and who to ask about weight.
- Vertical gardening on a fence or exterior wall explains why the load goes to the posts rather than the panels, and what a planted fence does in the wind.
- A vertical garden on an interior wall is the indoor build: the closed water loop, the barrier and air gap, and the load path in a finished wall.
- Vertical garden systems compared is the neutral structure-by-structure comparison behind Step 5.
- Best plants for vertical gardening by tier is the full plant-to-tier matching behind Step 6.
FAQ
Does a vertical garden damage a wall?
It can, but usually only when a mounted system skips the moisture barrier and air gap described in Step 3. Trapped moisture behind a planting structure, not the structure’s weight, is the more common cause of long-term wall damage.
Can renters build a vertical garden without losing their deposit?
Yes, by choosing a no-drill structure such as a freestanding tower, a railing-braced trellis, or a tension-rod system, all of which avoid putting anything into the wall itself. Always check your specific lease terms first, since they vary by landlord and building.
How much weight can a balcony or wall actually hold?
It depends on your specific building and hardware. General code ranges and typical anchor ratings serve as a starting point, but only your building management, landlord, or a qualified professional can confirm the actual number for your balcony or wall.
Do I need drainage holes in every pocket or container?
Yes. A container without a working drainage hole holds standing water, which drowns roots and adds unplanned weight to a hanging or mounted system over time.
What is the easiest structure for a first-time builder?
A freestanding tiered tower or a trellis panel braced against an existing railing is generally the simplest starting point, since both avoid drilling decisions and anchor weight ratings while you get a feel for tier-based watering and plant placement.